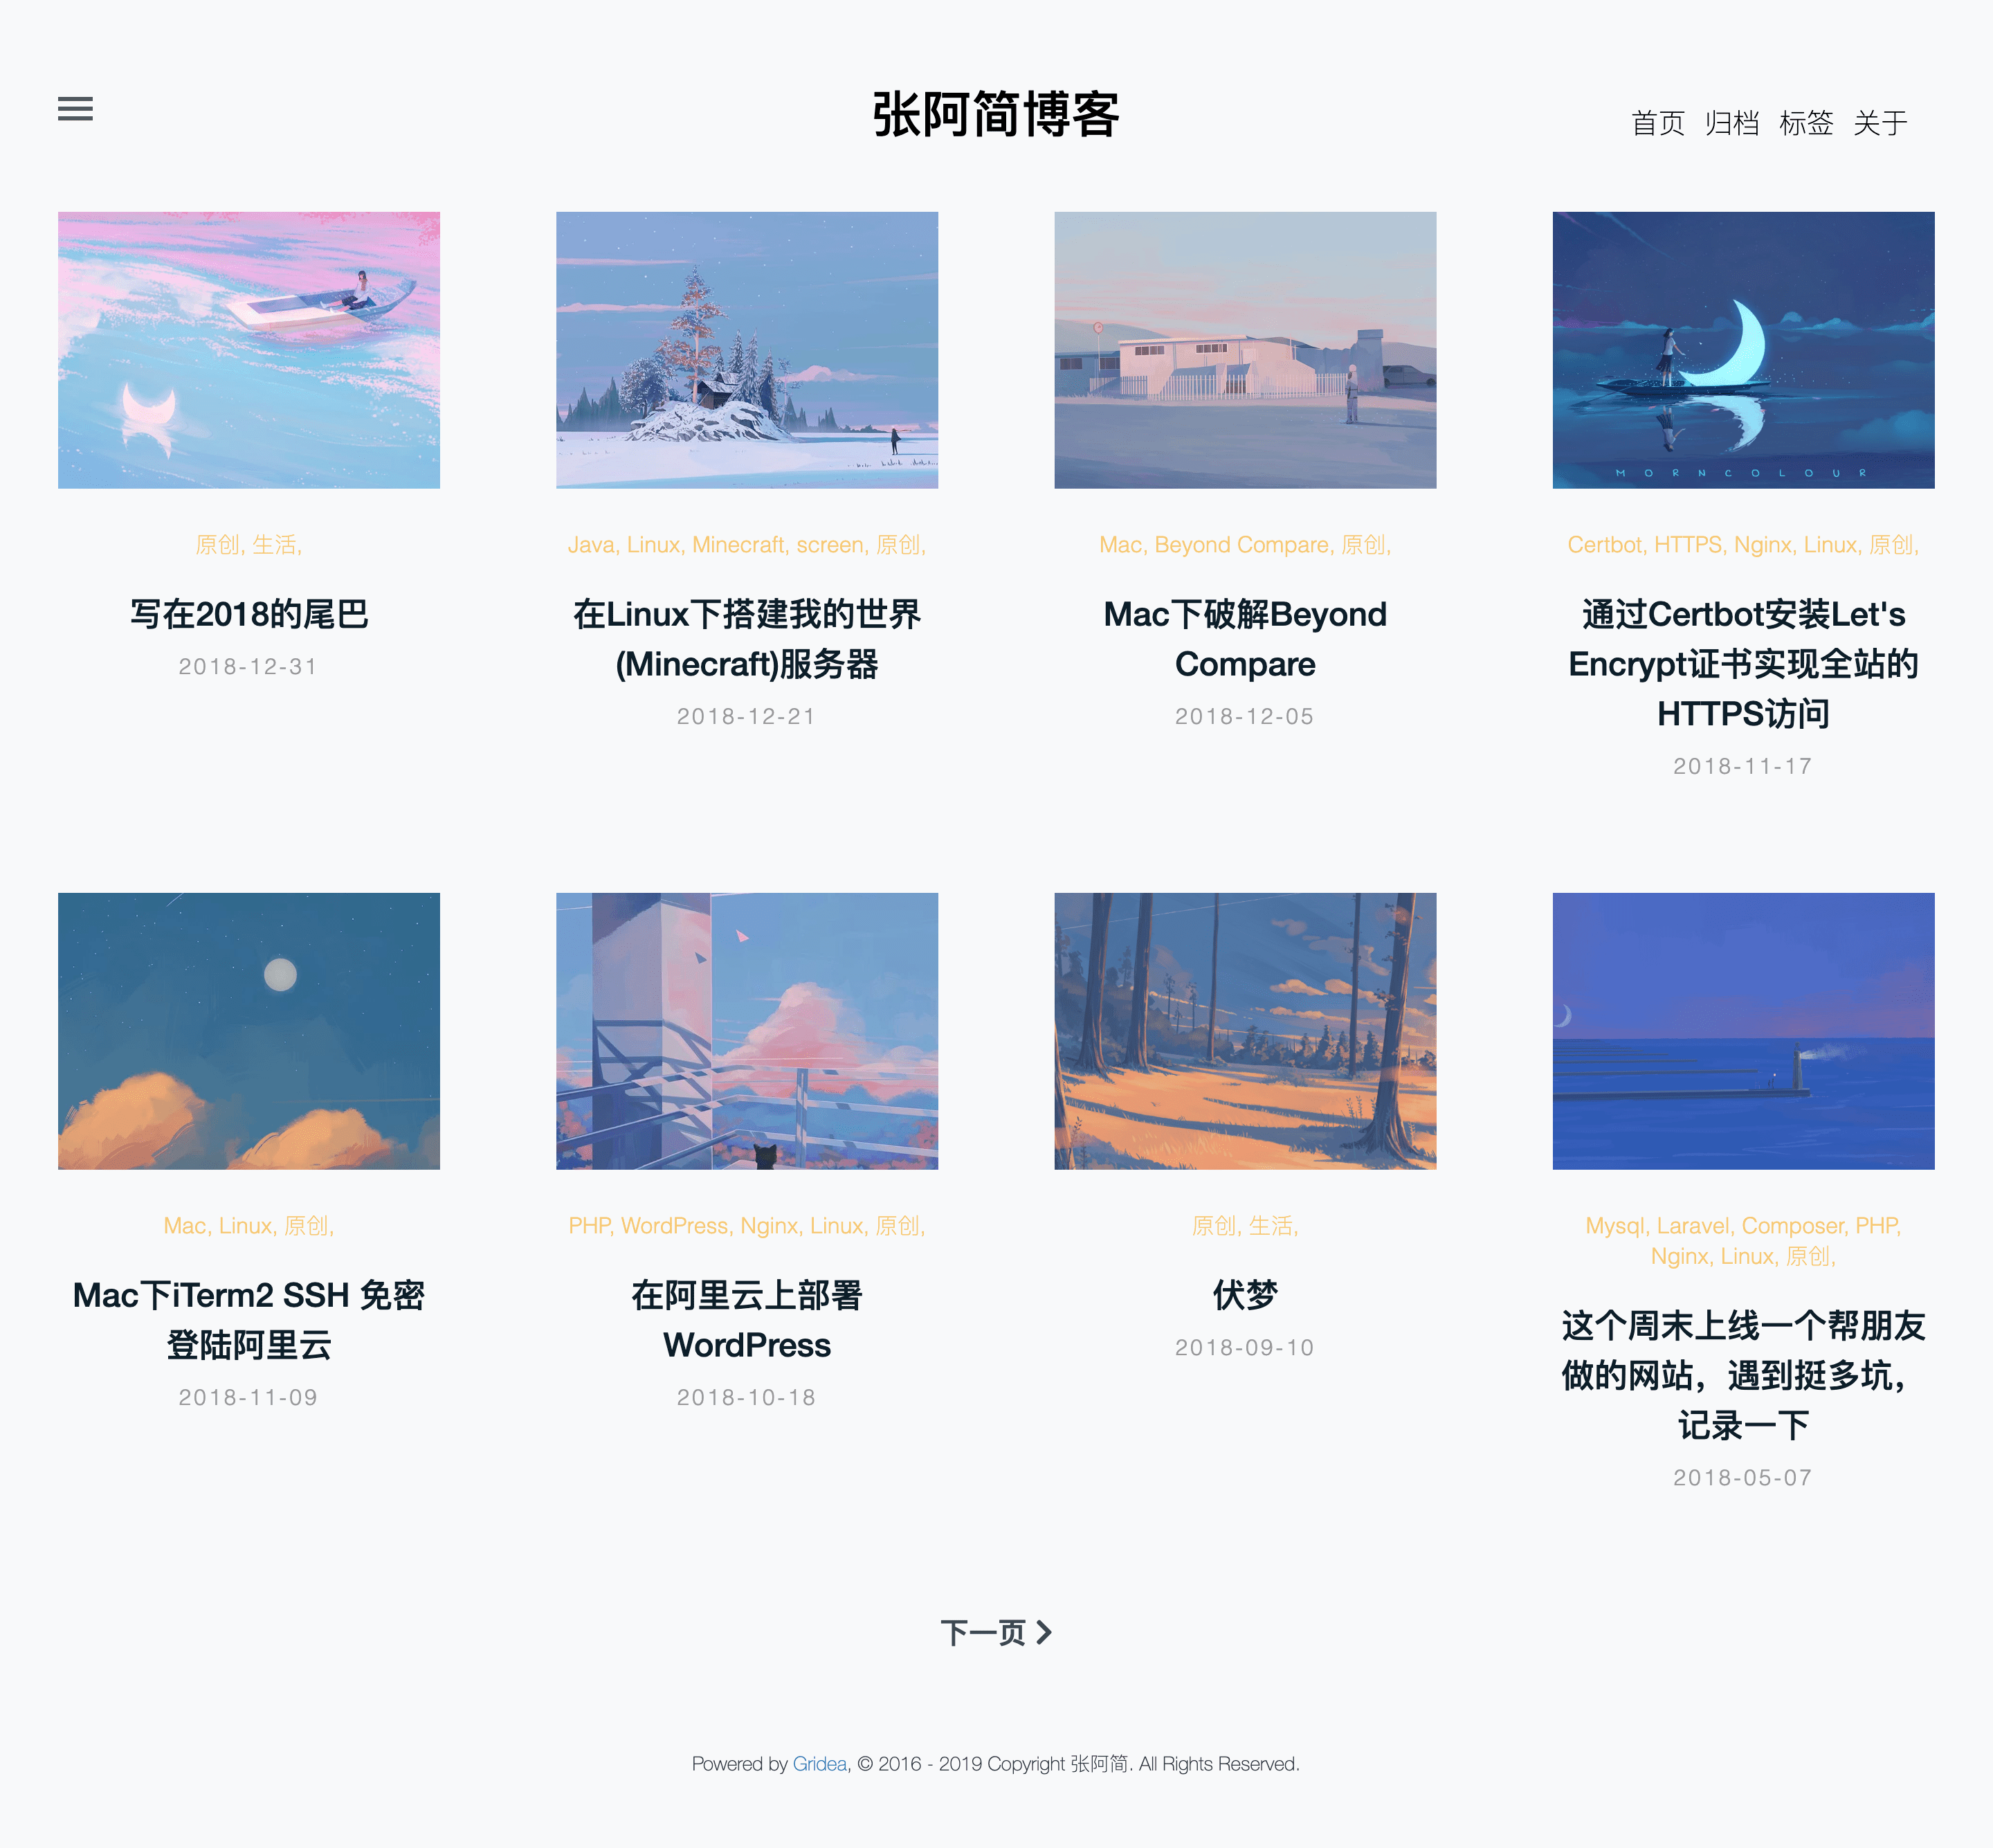
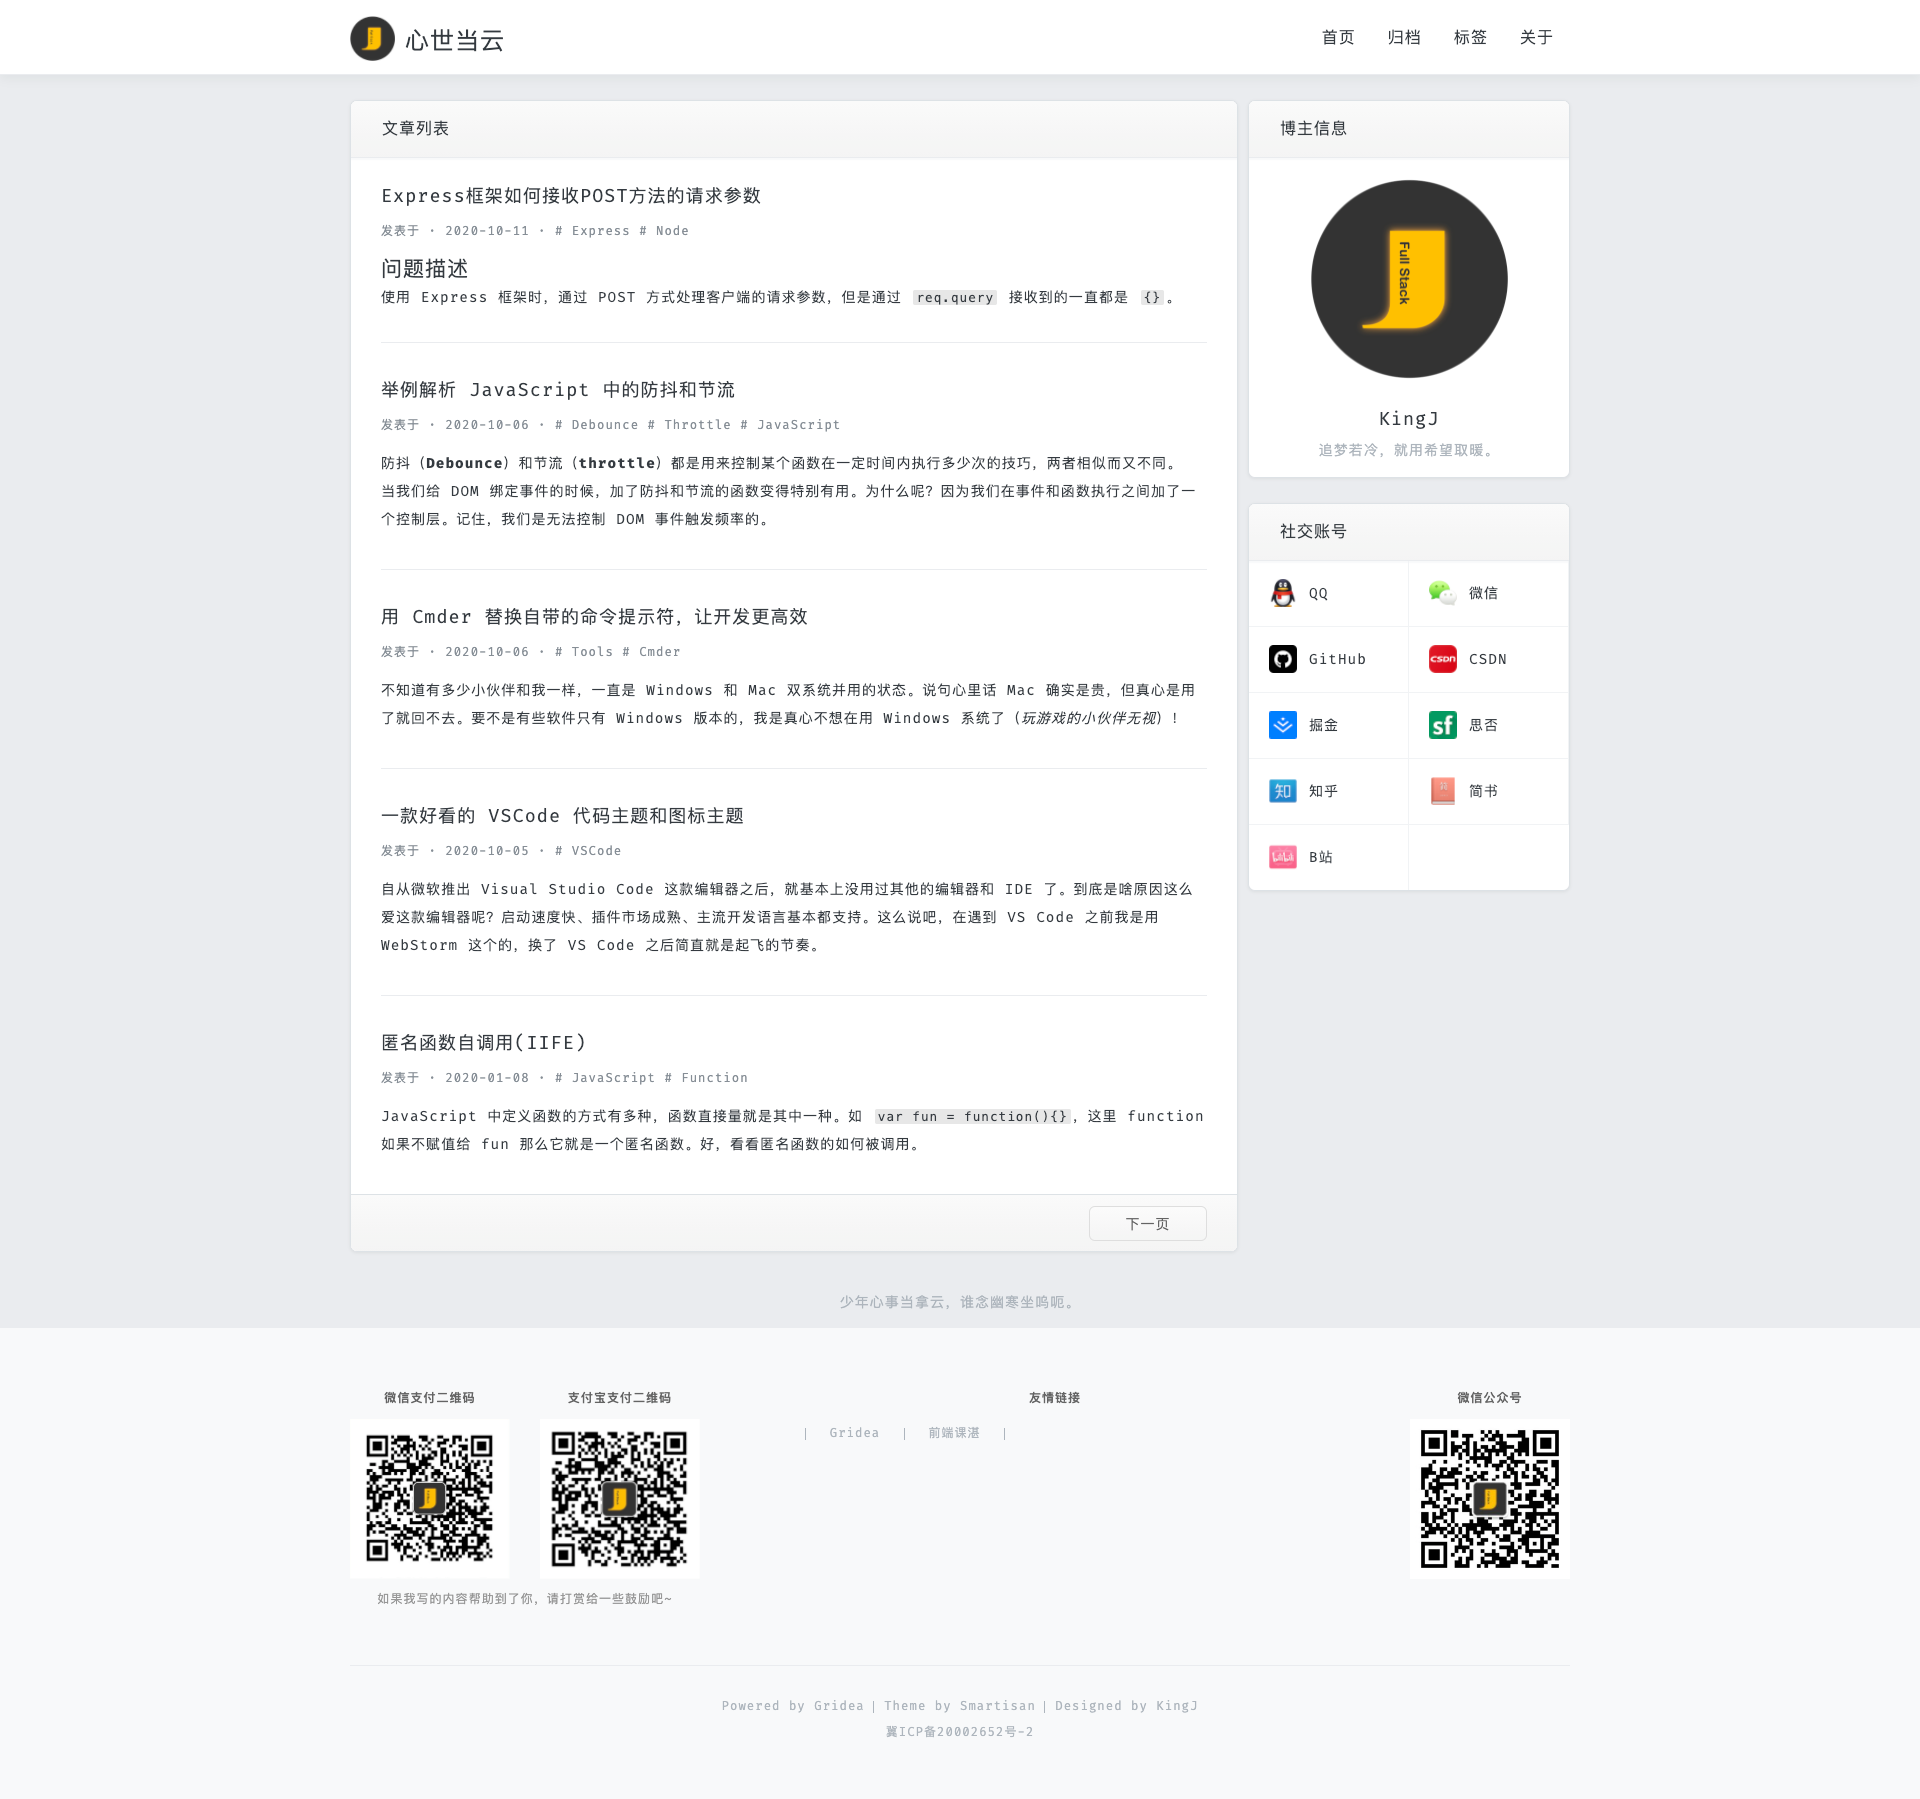
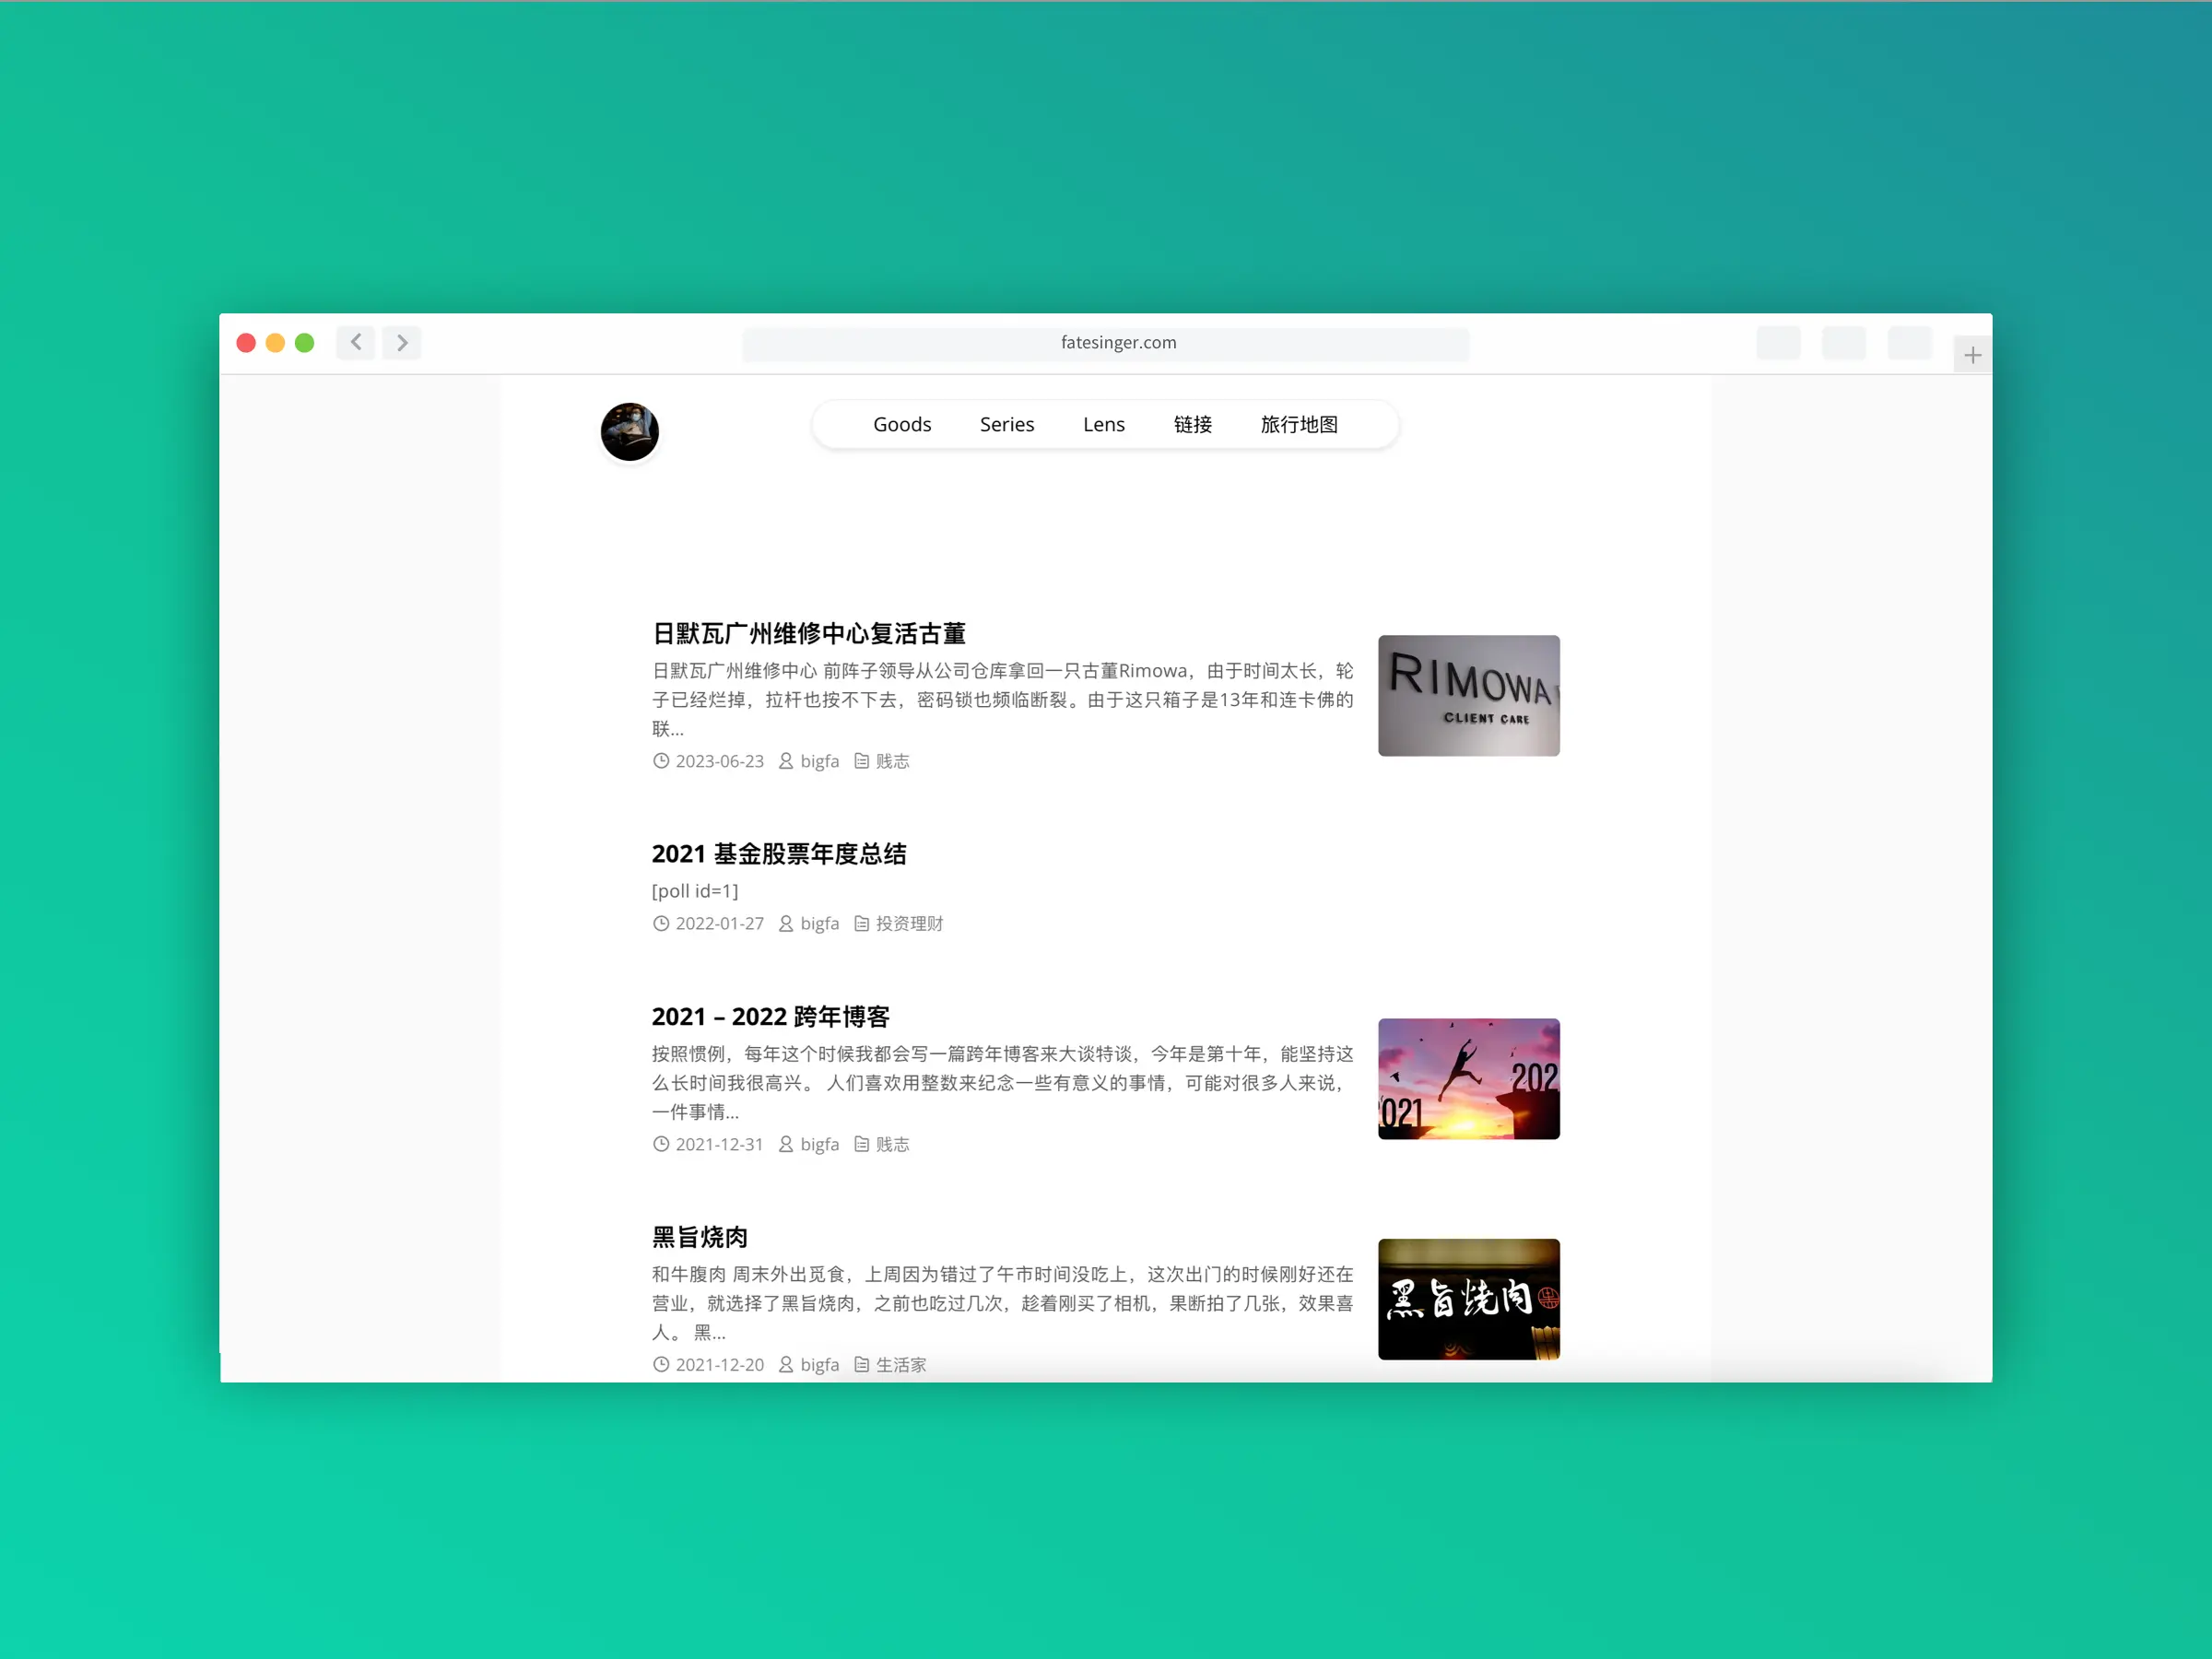
前言

最初部署的Activity-Relay服务由于是在宿主机上工作,前段时间由于宿主机机房重启了机器 使Relay服务莫名其妙的不能启动

于是这次使用便携易用的Docker来部署服务,记录一下以备用

具体步骤

拉取仓库

git clone https://github.com/yukimochi/Activity-Relay.git -b v2.0.0

编辑配置

进入Activity-Relay目录

cd Activity-Relay
cp config.yml.example config.yml

编辑config.yml修改相关配置

生成actor RSA 证书

ubuntu使用

openssl genrsa -traditional | tee actor.pem

centos使用

openssl genrsa -out actor.pem 1024 | tee actor.pem

赋予权限600

chmod 600 actor.pem

docker-compose配置

这里需开放端口用以反向代理

services:
  redis:
    restart: always
    image: redis:alpine
    healthcheck:
      test: ["CMD", "redis-cli", "ping"]
    volumes:
      - "./redisdata:/data"

  worker:
    container_name: worker
    build: .
    image: yukimochi/activity-relay
    working_dir: /var/lib/relay
    restart: always
    init: true
    command: relay worker
    volumes:
      - "./actor.pem:/var/lib/relay/actor.pem"
      - "./config.yml:/var/lib/relay/config.yml"
    depends_on:
      - redis

  server:
    container_name: relay
    build: .
    image: yukimochi/activity-relay
    working_dir: /var/lib/relay
    restart: always
    init: true
    ports:
      - "8080:8080"
    command: relay server
    volumes:
      - "./actor.pem:/var/lib/relay/actor.pem"
      - "./config.yml:/var/lib/relay/config.yml"
    depends_on:
      - redis

构建镜像与运行服务

docker-compose build
docker-compose up -d

查看容器运行状态

docker-compose ps

停止服务

docker-compose down

反向代理

    location = /inbox {
        proxy_pass http://127.0.0.1:8080; 
        proxy_pass_request_headers on; 
        proxy_set_header Host $http_host; 
    }
    location = /actor {
        proxy_pass http://127.0.0.1:8080; 
        proxy_pass_request_headers on; 
        proxy_set_header Host $http_host; 
    }

完成

https://relay.jiong.us/inbox
加入mastodon 的中继服务即可


前言

用AI辅助写的插件,至于有没有什么BUG咱也不知道

鉴于之前用的这个插件只能上传图片,对于其他类型的文件支持不是很理想,
[article id="1623"]
所以想借着AI尝试一下是否可以写一个支持S3兼容的插件

于是有了该插件

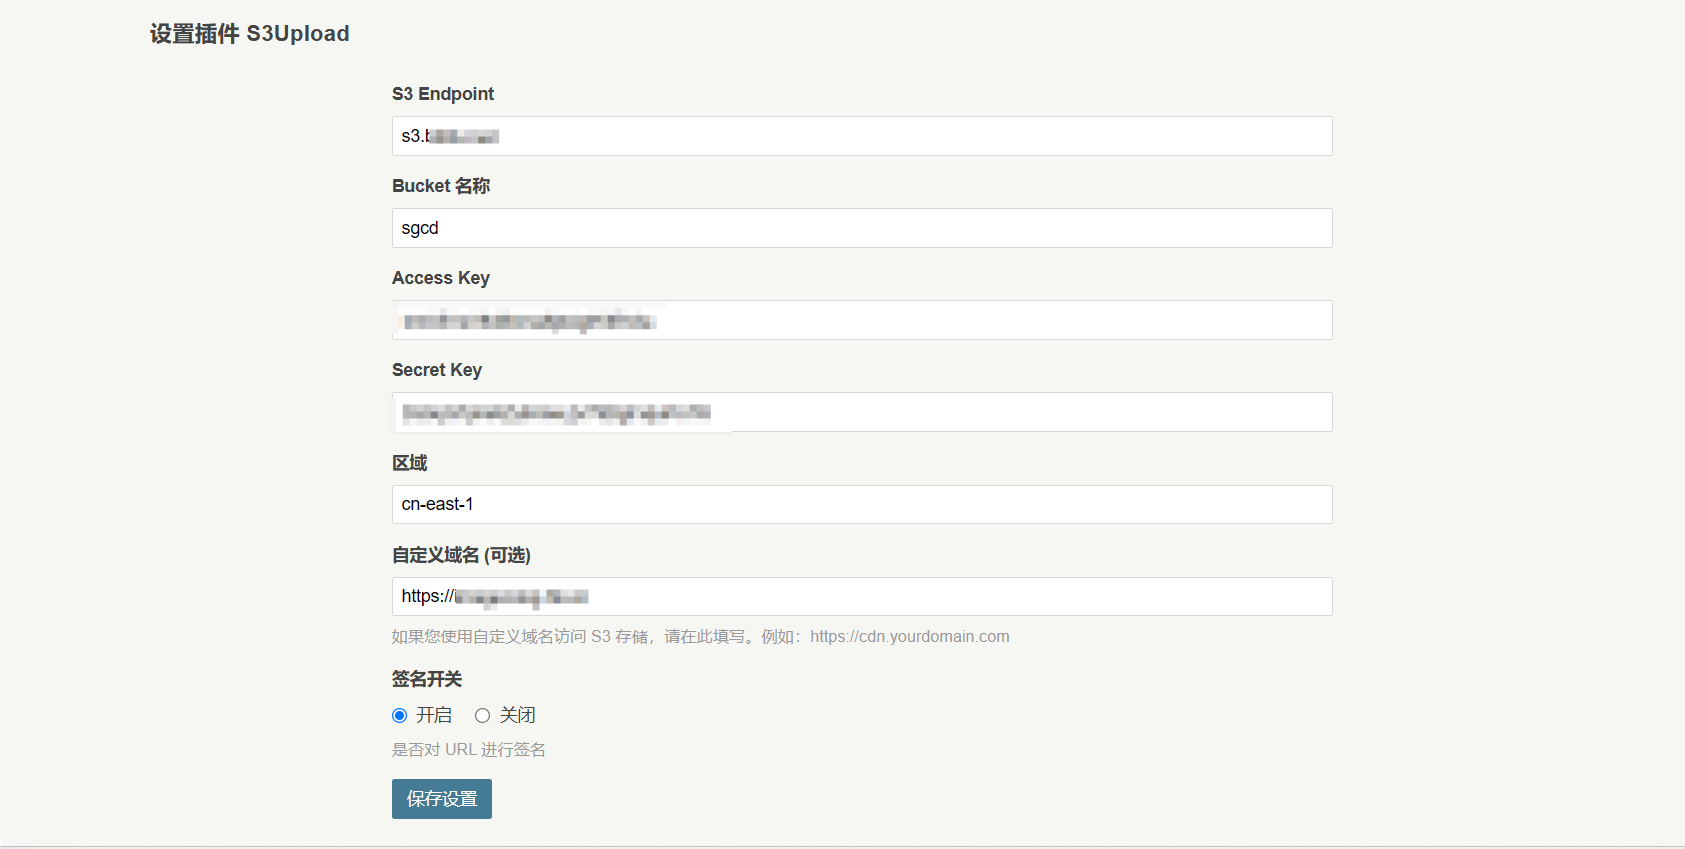
预览

后台设置

QQ20240729-115456.png

使用须知

需关闭php的display_errors

仅测试缤纷云,R2
php版本8.3
其他请自测

下载地址: 本地下载
S3下载:S3Upload.zip
项目地址 https://git.ima.cm/jkjoy/S3upload


之前玩静态博客用过hexo-circle-of-friends来获取友情链接中的好友文章.
如今这个项目我部署的过程中总是出现各种意外,不想继续折腾了,于是想起在大佬处看到 用FreshRSS 实现友圈rss订阅
于是开始今日的折腾

Docker部署Freshrss

使用docker run 命令

docker run -d --restart unless-stopped --log-opt max-size=10m \
  -p 8282:80 \
  -e TZ=Asia/Shanghai \
  -e 'CRON_MIN=1,31' \
  -v /root/rss/data:/var/www/FreshRSS/data \
  -v /root/rss/extensions:/var/www/FreshRSS/extensions \
  --name freshrss \
  freshrss/freshrss

获取API密码

  1. 认证中打开允许 API 访问 (用于手机应用)选项
  2. 账户-API管理中输入API密码

CF Workers

这时候就要使用CF大法了.

addEventListener('fetch', event => {
    event.respondWith(handleRequest(event.request));
});

const siteurl = 'Freshssr地址';

async function handleRequest(request) {
    // 直接使用固定的用户名与密码
    const user = '用户名';
    const password = 'API密码';
    try {
        const authToken = await login(user, password);
        if (!authToken) {
            return new Response('Login failed.', { status: 403 });
        }

        const articles = await fetchArticles(authToken);
        const subscriptions = await fetchSubscriptions(authToken);
        const formattedArticles = formatArticles(articles, subscriptions);

        return new Response(JSON.stringify(formattedArticles, null, 2), {
            headers: { 'Content-Type': 'application/json' }
        });
    } catch (error) {
        return new Response('Error: ' + error.message, { status: 500 });
    }
}

async function login(user, password) {
    const loginUrl = `${siteurl}/api/greader.php/accounts/ClientLogin?Email=${encodeURIComponent(user)}&Passwd=${encodeURIComponent(password)}`;
    const response = await fetch(loginUrl);
    const text = await response.text();
    const match = text.match(/Auth=(.*)/);
    return match ? match[1] : null;
}

async function fetchArticles(authToken) {
    const articlesUrl = `${siteurl}/api/greader.php/reader/api/0/stream/contents/reading-list?&n=1000`;
    const response = await fetch(articlesUrl, {
        headers: {
            'Authorization': `GoogleLogin auth=${authToken}`
        }
    });
    const data = await response.json();
    return data.items || [];
}

async function fetchSubscriptions(authToken) {
    const subscriptionsUrl = `${siteurl}/api/greader.php/reader/api/0/subscription/list?output=json`;
    const response = await fetch(subscriptionsUrl, {
        headers: {
            'Authorization': `GoogleLogin auth=${authToken}`
        }
    });
    const data = await response.json();
    return data.subscriptions || [];
}

function formatArticles(articles, subscriptions) {
    const subscriptionMap = new Map();
    subscriptions.forEach(subscription => {
        subscriptionMap.set(subscription.id, subscription);
    });

    return articles.map(article => {
        const strippedContent = stripHtml(article.summary.content);
        const desc_length = strippedContent.length;
        const short_desc = desc_length > 20 
            ? strippedContent.substring(0, 99) + '...' 
            : strippedContent;

        const subscriptionId = article.origin.streamId;
        const subscription = subscriptionMap.get(subscriptionId);

        return {
            site_name: article.origin.title,
            title: article.title,
            link: article.alternate[0].href,
            time: new Date(article.published * 1000).toISOString(), // Convert timestamp to ISO string
            description: short_desc,
            icon: subscription ? `${siteurl}/${subscription.iconUrl.split('/').pop()}` : ''
        };
    });
}

function stripHtml(html) {
    return html.replace(/<[^>]*>?/gm, ''); // 使用正则表达式去除HTML标签
}

访问看看,输出 https://rss.imsun.workers.dev/
由于cf的加载速度不是很理想,当然也可以使用php或者bash脚本生成json文件,这样可以加速页面加载的速度,大佬已经有代码贴出来了我就不复制了.
如果是使用静态博客的话 则可以选择使用github工作流 生成静态文件并通过vercel加速访问

调用

我把朋友圈文章加在了友情链接页面

使用php

<?php
// 获取JSON数据
$jsonData = file_get_contents('https://rss.imsun.workers.dev/');

// 检查是否成功获取数据
if ($jsonData === false) {
    die('Error fetching JSON data.');
}

// 将JSON数据解析为PHP数组
$articles = json_decode($jsonData, true);

// 检查是否成功解析JSON
if ($articles === null) {
    die('Error decoding JSON data.');
}

// 对文章按时间排序(最新的排在前面)
usort($articles, function ($a, $b) {
    return strtotime($b['time']) - strtotime($a['time']);
});

// 设置每页显示的文章数量
$itemsPerPage = 30;

// 生成文章列表
echo '<header class="archive--header"><h1 class="post--single__title">朋友文章</h1><h2 class="post--single__subtitle">通过Freshrss获取 </h2>
</header><div class="articleList">';
foreach (array_slice($articles, 0, $itemsPerPage) as $article) {
    // 格式化发布时间
    $date = new DateTime($article['time']);
    $date->setTimezone(new DateTimeZone('Asia/Shanghai')); // 设置为中国上海时区
    $formattedDate = $date->format('Y年m月d日 H:i:s');

    echo '<article class="post--item"><div class="content">';

    echo '<a target=_blank href="' . htmlspecialchars($article['link']) . '"><h2 class="post--title">' . htmlspecialchars($article['title']) . '</h2></a>';
    echo ' <div class="description">' . htmlspecialchars($article['description']) . '</div>';
    echo '<div class="meta"><img src="' . htmlspecialchars($article['icon']) . '"  class="icon" width="16" height="16" alt="Icon" />'. htmlspecialchars($article['site_name']) .'';
    echo '<svg class="icon" viewBox="0 0 1024 1024" width="16" height="16">
    <path
        d="M512 97.52381c228.912762 0 414.47619 185.563429 414.47619 414.47619s-185.563429 414.47619-414.47619 414.47619S97.52381 740.912762 97.52381 512 283.087238 97.52381 512 97.52381z m0 73.142857C323.486476 170.666667 170.666667 323.486476 170.666667 512s152.81981 341.333333 341.333333 341.333333 341.333333-152.81981 341.333333-341.333333S700.513524 170.666667 512 170.666667z m36.571429 89.697523v229.86362h160.865523v73.142857H512a36.571429 36.571429 0 0 1-36.571429-36.571429V260.388571h73.142858z">
    </path>
</svg><time> ' . htmlspecialchars($formattedDate) . '</time></div>
    </div> ';
            
    echo '</article>';
}
echo '</div>';
?>

大功告成

使用JS

<div class="articleList" id="articleList"></div>
<button id="load-more">加载更多</button>

<script>
document.addEventListener('DOMContentLoaded', async () => {
    const jsonData = await fetchJsonData('https://cdn.jkjoy.cn/rss/rss.json');
    if (!jsonData) {
        console.error('Failed to fetch JSON data.');
        return;
    }
    const articles = jsonData;

    // 对文章按时间排序(最新的排在前面)
    articles.sort((a, b) => new Date(b.time) - new Date(a.time));

    // 初始化分页变量
    let currentPage = 1;
    const itemsPerPage = 30;

    // 加载第一页文章
    loadArticles(currentPage, itemsPerPage, articles);

    // 设置“加载更多”按钮点击事件
    const loadMoreButton = document.getElementById('load-more');
    loadMoreButton.addEventListener('click', () => {
        currentPage++;
        loadArticles(currentPage, itemsPerPage, articles);
    });
});

async function fetchJsonData(url) {
    try {
        const response = await fetch(url);
        if (response.ok) {
            return await response.json();
        } else {
            console.error('HTTP error:', response.status, response.statusText);
        }
    } catch (error) {
        console.error('Fetch error:', error);
    }
    return null;
}

function loadArticles(page, perPage, articles) {
    const startIndex = (page - 1) * perPage;
    const endIndex = page * perPage;
    const articleListElem = document.getElementById('articleList');
    
    articles.slice(startIndex, endIndex).forEach(article => {
        const articleElem = createArticleElement(article);
        articleListElem.appendChild(articleElem);
    });
}

function createArticleElement(article) {
    // 格式化发布时间
    const date = new Date(article.time);
    const formattedDate = new Intl.DateTimeFormat('zh-CN', {
        year: 'numeric', 
        month: '2-digit', 
        day: '2-digit',
        hour: '2-digit',
        minute: '2-digit',
        second: '2-digit',
        hour12: false
    }).format(date);

    const div = document.createElement('div');
    div.className = 'post--item';

    const contentDiv = document.createElement('div');
    contentDiv.className = 'content';

    const link = document.createElement('a');
    link.href = article.link;
    link.target = '_blank';
    const title = document.createElement('h2');
    title.className = 'post--title';
    title.textContent = article.title;
    link.appendChild(title);

    const descriptionDiv = document.createElement('div');
    descriptionDiv.className = 'description';
    descriptionDiv.textContent = article.description;

    const metaDiv = document.createElement('div');
    metaDiv.className = 'meta';

    const iconImg = document.createElement('img');
    iconImg.src = article.icon;
    iconImg.width = 16;
    iconImg.height = 16;
    iconImg.alt = 'Icon';
    iconImg.className = 'icon';

    const siteName = document.createElement('span');
    siteName.textContent = article.site_name;

    const timeIcon = document.createElementNS('http://www.w3.org/2000/svg', 'svg');
    timeIcon.className = 'icon';
    timeIcon.setAttribute('viewBox', '0 0 1024 1024');
    timeIcon.setAttribute('width', '16');
    timeIcon.setAttribute('height', '16');
    timeIcon.innerHTML = `<path d="M512 97.52381c228.912762 0 414.47619 185.563429 414.47619 414.47619s-185.563429 414.47619-414.47619 414.47619S97.52381 740.912762 97.52381 512 283.087238 97.52381 512 97.52381z m0 73.142857C323.486476 170.666667 170.666667 323.486476 170.666667 512s152.81981 341.333333 341.333333 341.333333 341.333333-152.81981 341.333333-341.333333S700.513524 170.666667 512 170.666667z m36.571429 89.697523v229.86362h160.865523v73.142857H512a36.571429 36.571429 0 0 1-36.571429-36.571429V260.388571h73.142858z"></path>`;

    const timeText = document.createElement('time');
    timeText.textContent = formattedDate;

    metaDiv.appendChild(iconImg);
    metaDiv.appendChild(siteName);
    metaDiv.appendChild(timeIcon);
    metaDiv.appendChild(timeText);

    contentDiv.appendChild(link);
    contentDiv.appendChild(descriptionDiv);
    contentDiv.appendChild(metaDiv);

    div.appendChild(contentDiv);

    return div;
}
</script>
前言

从Hugo主题Stack移植而来.

https://github.com/CaiJimmy/hugo-theme-stack

演示

https://wanne.cn

使用

站点 LOGO 地址

为左侧边栏头像

站点 Favicon 地址

Favicon

归档页面地址

创建归档页面后,在此填入

链接页面地址

使用links插件

创建链接页面后,在此填入

关于页面地址

创建关于页面后,在此填入

自定义菜单

        <li >
            <a href='/' >
                <svg xmlns="http://www.w3.org/2000/svg" class="icon icon-tabler icon-tabler-home" width="24" height="24" viewBox="0 0 24 24" stroke-width="2" stroke="currentColor" fill="none" stroke-linecap="round" stroke-linejoin="round"><path stroke="none" d="M0 0h24v24H0z"/><polyline points="5 12 3 12 12 3 21 12 19 12" /><path d="M5 12v7a2 2 0 0 0 2 2h10a2 2 0 0 0 2 -2v-7" /><path d="M9 21v-6a2 2 0 0 1 2 -2h2a2 2 0 0 1 2 2v6" /></svg>
                <span>首页</span>
            </a>
        </li>

按照此格式填入

是否在侧边栏显示按日期归档

由于日期归档过多,可以选择是否显示

是否使用魔改风格

mod风格来自其他Stack用户

分类图片目录

按照分类的 mid 以jpg的格式 存放的目录
譬如本地目录 或者 CDN 等,用于匹配归档页面的分类图片

使用第三方评论

可以选择使用第三方的评论系统 如 twikoo 等

Header代码

用于DIY CSS 或 身份验证 等

Footer代码

用于插入备案号码 或者 统计代码等

项目地址

https://github.com/jkjoy/Typecho-Theme-Stack


简介

前文有
[article id="1586"]

个人看IM的时间比邮件的时间长,所以就还是使用QQ接收通知
基于 GO-CQhttp 项目
也可以使用插件实现
[article id="346"]

使用

修改主题 functions.phpfunction themeConfig($form) {下添加

    $qqboturl = new Typecho_Widget_Helper_Form_Element_Text('qqboturl', NULL, 'https://bot.asbid.cn', _t('QQ机器人API,保持默认则需添加 2280858259 为好友'), _t('基于cqhttp,有评论时QQ通知'));
    $form->addInput($qqboturl);
    $qqnum = new Typecho_Widget_Helper_Form_Element_Text('qqnum', NULL, '80116747', _t('QQ号码'), _t('用于接收QQ通知的号码'));
    $form->addInput($qqnum);

最后添加以下代码

function notifyQQBot($comment) {
    $options = Helper::options();
    // 检查评论是否已经审核通过
    if ($comment->status != "approved") {
        error_log('Comment is not approved.');
        return;
    } 
    // 获取配置中的QQ机器人API地址
    $cq_url = $options->qqboturl;
    // 检查API地址是否为空
    if (empty($cq_url)) {
        error_log('QQ Bot URL is empty. Using default URL.');
        $cq_url = 'https://bot.asbid.cn';
    }
    // 获取QQ号码
    $qqnum = $options->qqnum;
    // 检查QQ号码是否为空
    if (empty($qqnum)) {
        error_log('QQ number is empty.');
        return;
    }
    // 如果是管理员自己发的评论则不发送通知
    if ($comment->authorId === $comment->ownerId) {
        error_log('This comment is by the post owner.');
        return;
    }
    // 构建消息内容
    $msg = '「' . $comment->author . '」在文章《' . $comment->title . '》中发表了评论!';
    $msg .= "\n评论内容:\n{$comment->text}\n永久链接地址:{$comment->permalink}";
    // 准备发送消息的数据
    $_message_data_ = [
        'user_id' => (int) trim($qqnum),
        'message' => str_replace(["\r\n", "\r", "\n"], "\r\n", htmlspecialchars_decode(strip_tags($msg)))
    ];
    // 输出调试信息
    error_log('Sending message to QQ Bot: ' . print_r($_message_data_, true));
    // 初始化Curl请求
    $ch = curl_init();
    curl_setopt_array($ch, [
        CURLOPT_URL => "{$cq_url}/send_msg?" . http_build_query($_message_data_, '', '&'),
        CURLOPT_CONNECTTIMEOUT => 10,
        CURLOPT_TIMEOUT => 30,
        CURLOPT_RETURNTRANSFER => true,
        CURLOPT_HEADER => false,
        CURLOPT_SSL_VERIFYPEER => false,
        CURLOPT_SSL_VERIFYHOST => 0
    ]);
    $response = curl_exec($ch);
    if (curl_errno($ch)) {
        error_log('Curl error: ' . curl_error($ch));
    } else {
        error_log('Response: ' . $response);
    }
    curl_close($ch);
}
Typecho_Plugin::factory('Widget_Feedback')->finishComment = 'notifyQQBot';

完成之后在主题设置处设置QQ机器人的API 和 QQ号码


使用API创建一个应用

curl -X POST 'https://your.instance.url/api/v1/apps' \ 
  -H 'Content-Type:application/json' \
  -d '{
      "client_name": "memos",
      "redirect_uris": "urn:ietf:wg:oauth:2.0:oob",
      "scopes": "read"
    }'

得到"client_id"和"client_secret"

{
    "id": "01MAXW228JRT327ACDW2MVQCR6",
    "name": "memos",
    "redirect_uri": "urn:ietf:wg:oauth:2.0:oob",
    "client_id": "01D9XG149GN5RTEWWQE5MDPA",
    "client_secret": "8799e15b-5978-4367-ba51-fd171fbb4d"
}

授权应用

访问 https://your.instance.url/oauth/authorize?client_id=your_new_client_id-id&redirect_uri=urn:ietf:wg:oauth:2.0:oob&response_type=code

点击通过

得到了一个code,类似

NDEYYZBKOTQTYTCWYI0ZMZKYLWE5OTYTZDHKMTG2MDQ3YJA

获得access token

用上面获取的"client_id":,"client_secret","code"执行

curl -X POST 'https://your.instance.url/oauth/token' \
  -H 'Content-Type:application/json' 
  -d '{
      "redirect_uri": "urn:ietf:wg:oauth:2.0:oob",
      "client_id": "01D9XG149GN5RTEWWQE5MDPA",
      "client_secret": "8799e15b-5978-4367-ba51-fd171fbb4d",
      "grant_type": "authorization_code",
      "code": "NDEYYZBKOTQTYTCWYI0ZMZKYLWE5OTYTZDHKMTG2MDQ3YJA"
    }'

获取access_token

{
    "access_token": "MJRJYJMXZGMTMGNJMC0ZYZQ0LWIZYTITZTAZMTUZNDNKYMJ1",
    "created_at": 1716722670,
    "scope": "read",
    "token_type": "Bearer"
}

通过Cloudflare Workers获取json数据

替换以下的{url} {id} {token}即可

addEventListener('fetch', event => {
  event.respondWith(handleRequest(event.request))
})

async function handleRequest(request) {
  const url = "https://{url}/api/v1/accounts/{id}/statuses?limit=1000&exclude_replies=true&only_public=true&only_media=true";
  const init = {
    method: "GET",
    headers: {
      "content-type": "application/json;charset=UTF-8",
      "User-Agent": "Node.js/v14.15.1",
      "Authorization": "Bearer {token}" // Use your real token here
    }
  };

  let response = await fetch(url, init);
  const results = await response.json();

  // 构建新的响应并添加CORS头
  let corsHeaders = {
    "Access-Control-Allow-Origin": "*",  // 这将允许所有源访问,如果你想限制访问可以更改为特定的URI
    "Access-Control-Allow-Methods": "GET,POST,PUT,PATCH,DELETE,OPTIONS",  // 你可以根据实际需要更改这些方法
    "Access-Control-Allow-Headers": "Content-Type, Authorization, User-Agent"  // 加入你用到的其他头
  }

  let newResponse = new Response(JSON.stringify(results), {
    headers: corsHeaders
  });

  return newResponse;
}

根据API文档,此查询会默认获取30条 包括 回复 未公开的全部内容

获取最近1000条公开的未包括回复的内容

/api/v1/accounts/01MQ6Y9ZKC7TAJ7B97Q2TAMHXQ/statuses?limit=1000&exclude_replies=true&only_public=true

获取最近1000条公开的未回复的仅多媒体的内容

/api/v1/accounts/01MQ6Y9ZKC7TAJ7B97Q2TAMHXQ/statuses?limit=1000&exclude_replies=true&only_public=true&only_media=true

替换以上的API节点

演示地址
https://bbapi.ima.cm


说明

这是我移植的第一款主题

来自hugo-theme-farallon

原项目地址

感谢bigfa大大制作的主题
https://github.com/bigfa/hugo-theme-farallon

预览

预览

更新

2024.12.25

使用API查询来获取IP归属地
根据等级设置名字颜色,鼠标悬停在昵称时显示等级,在头像显示评论数

2024.12.12

给评论区加上身份等级
显示留言者的IP信息

删除归档中的字数统计

把豆瓣的设置移到了自定义页面,使用自定义字段设置

使用指南

观影页面说明

by 豆瓣

参照Docker 自动同步豆瓣书影音记录部署

使用自定义字段设置douban 默认为https://db.imsun.org
https://www.imsun.org/movies

by Neodb 0.6.3新增

参照[article id="1688"]
获得获取neodb API
使用自定义字段设置neodb 默认为https://neodb.imsun.org
https://www.imsun.org/neodb

友情链接说明

https://www.imsun.org/links
基于 links 插件实现

可使用 寒泥 大佬制作的版本或者其他版本

说说页面说明

by memos

Memos请自行部署
https://www.imsun.org/memos/
利用memos实现动态获取说说,仅支持memos v0.20.0以下版本
使用自定义字段设置memos
在自定义字段中填入memos值为memos地址,不带/
在自定义字段中填入memosID默认值为1, 当您的ID 不为1时 需要设置
在自定义字段中填入memosnum默认值为20,默认获取20条最近的memo

by mastodon

https://www.imsun.org/talks/
支持mastodon gts pleroma
根据
[article id="1664"]
或者
[article id="1643"]
获得API地址
在自定义字段中填入tooot值为Mastodon API 地址 例如 https://www.imsun.org/toot.json

标签页面

https://www.imsun.org/tags/

分类页面

分类图片按照mid.jpg的格式存放在对应的目录中
然后填入相对的url
https://www.imsun.org/category/

归档页面

https://www.imsun.org/archives/

统计页面 0.6.2 移除

https://www.imsun.org/site/

首页摘要

若使用AI摘要插件则显示AI摘要,不使用则显示默认字数摘要

好物页面

基于memos
https://www.imsun.org/goods
在自定义字段中填入memos值为memos地址
在自定义字段中填入memosID默认值为1,不为1时才需要设置
在自定义字段中填入memostag默认值为好物,不为好物时才需要设置

QQ评论通知

QQ机器人API,保持默认 则需添加 2280858259 为好友

这里附上我搭建的所有QQ机器人的列表以及状态
https://www.imsun.org/qqbot

当你的博客有人评论时QQ机器人会发消息到你的QQ

自行搭建QQ机器人,可查阅
[article id="1668"]

下载地址

https://github.com/jkjoy/typecho-theme-farallon/releases
国内用户访问
https://git.jiong.us/jkjoy/typecho-theme-farallon/releases/


[article id=1388]

介绍了如何优雅的部署Gotosocial.

本文是Gotosocial的使用进阶教程,如有不足,请指正

部署

根据官方示例文档,使用docker compose部署
编写docker-compose.yaml,如下

services:
  gotosocial:
    image: superseriousbusiness/gotosocial:latest
    container_name: gotosocial
    networks:
      - gotosocial
    environment:
      GTS_HOST: ima.cm
      GTS_DB_TYPE: sqlite
      GTS_DB_ADDRESS: /gotosocial/storage/sqlite.db
      GTS_STORAGE_BACKEND: s3
      GTS_STORAGE_S3_BUCKET: 
      GTS_STORAGE_S3_ENDPOINT: 
      GTS_STORAGE_S3_ACCESS_KEY: 
      GTS_STORAGE_S3_SECRET_KEY: 
      GTS_STORAGE_S3_PROXY: false
      GTS_ACCOUNTS_ALLOW_CUSTOM_CSS: true
      TZ: Asia/Chongqing
    ports:
      - "127.0.0.1:8080:8080"  
    volumes:
      - ./data:/gotosocial/storage
      - ./web:/gotosocial/web #映射出来
    restart: "always"

networks:
  gotosocial:
    ipam:
      driver: default

主要是为了把容器内的/gotosocial/web目录映射到本地目录./web,然后我们可以根据自己的需求来修改前端的模板

由于源码内的前端资源需要编译,所以我偷懒打包了一份编译好的提供给大家使用,

下载地址

该主题我粗略翻译了一下,演示如下

https://ima.cm

Environment

根据官方文档,参考设置文件config.yaml来自定义

https://github.com/superseriousbusiness/gotosocial/blob/main/example/config.yaml

其中,如果想更改数据库类型可以参照db-type: "postgres"来定义,在Environment 中必须全部使用大写字母和下划线,如GTS_DB_TYPE.:后面的设定值无需双引号""包裹.

WEB设置

默认值

# Default: "./web/template/"
web-template-base-dir: "./web/template/"
# Default: "./web/assets/"
web-asset-base-dir: "./web/assets/"

也可以通过更改Environment设置来自定义WEB的映射目录.

实例语言设置,貌似暂时不支持中文

# Example: ["nl", "en-gb", "fr"]
# Default: []
instance-languages: []

自定义CSS 的设置

# Options: [true, false]
# Default: false 默认关闭
accounts-allow-custom-css: false

如需开启则需要

GTS_ACCOUNTS_ALLOW_CUSTOM_CSS: true

储存设置

可以选择本地储存还是使用S3标准协议的对象储存来保存附件.

SMTP设置

# Default: ""
smtp-host: ""
# Default: 0
smtp-port: 0
# Default: ""
smtp-username: ""
# Default: ""
smtp-password: ""
# Default: ""
smtp-from: ""

以此

GTS_SMTP_HOST:
GTS_SMTP_PORT:
GTS_SMTP_USERNAME:
GTS_SMTP_PASSWORD:
GTS_SMTP_FROM:

字母全部大写,前面加上GTS,-一律写为_即可